|
Creating a new Workflow |
  
|
|
Creating a new Workflow |
|
Open the Workflows page
Click on New button
Give the Workflow a Name
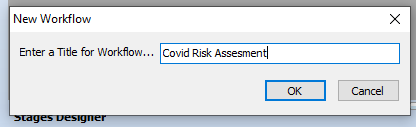
Select a Workflow Type - for this example Jobs.
The Workflow type is used to determine what data is available to the workflow, so for example a workflow type of Jobs, will allow the workflow access to the Job Reference and Job Title.
For some workflow types, the Target Data also should be set. The Target data describes which entity the Workflow is going to be run against. For example a workflow that walked a user through servicing of a Mac 250 moving light, would require a workflow type of Equipment, and a Target Data of Equipment Type i.e the workflow is going to be run against a type of equipment, and any data the user enters will be stored against that type. Compared to an Amplifier Test where again the workflow type will be Equipment, but this time we want to store the user entered data against each specific item, so in this instance the Target Data will be Barcode.
Click and drag the Page icon ![]() on to the Workflow Designer.
on to the Workflow Designer.
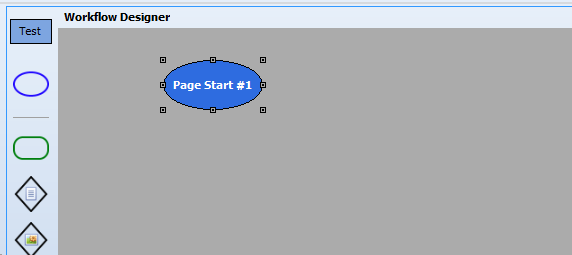
Then repeat, dropping the page onto the existing page (once dropped drag to the side)
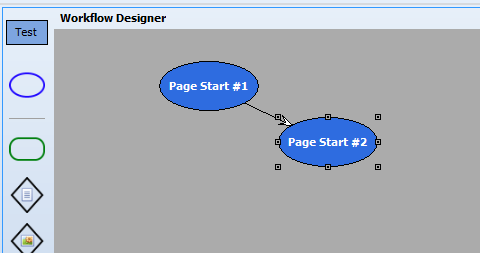
Finally drag and drop five more pages on to the Workflow designer. As the drag & drop will only allow one page to be autolinked, they can just be dropped below.
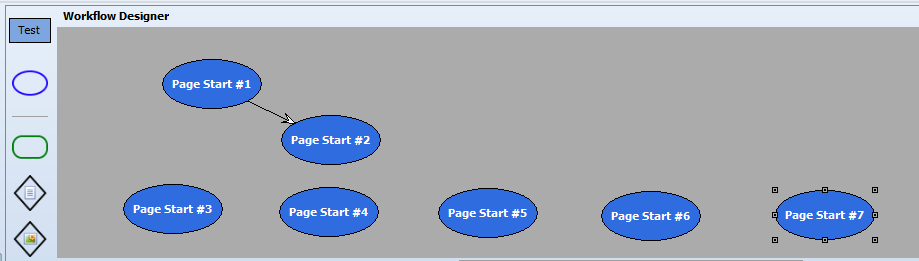
Next Click on Page Start #1 and in the Designer Text Field Change “Page Start #1” to “Introduction”


Repeat for the other pages, changing
Page Start #2 - The Tool
Page Start #3 - Results Score Below 6
Page Start #4 - Results Score 6 -20
Page Start #5 - Results Score 21 - 33
Page Start #6 - Results Score 34 - 44
Page Start #7 - Results Score 45+
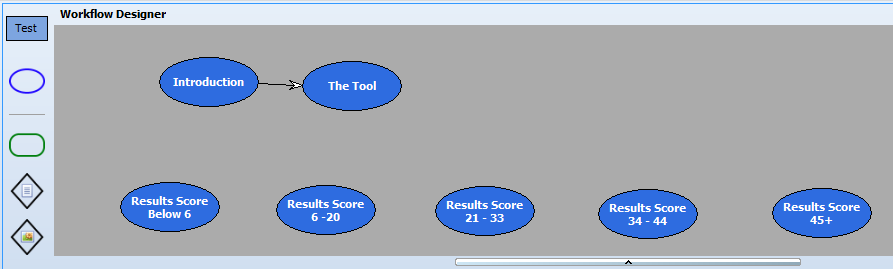
So we’ll end up with something like this
Next we want to complete each Page.
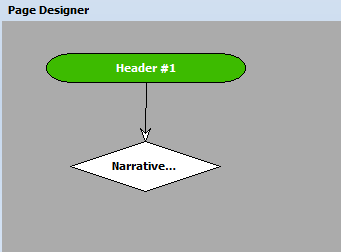
The Introduction page is to give the user an overview of the workflow.
To create this we click on the Introduction Page and then in the Page Designer panel, we drag on a header ![]() and an output narrative.
and an output narrative. ![]()
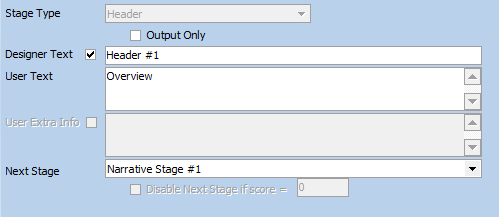
For the Header we want to give it the Title Overview. So that gets set as the User Text
And for the Narrative stage the text:
“Where the number of mass attendance events grows as the nations of the UK come out of their various lockdown arrangements, a need has been identified to assess the risk of those events and ensure that appropriate mitigations are in place. To make this simpler and consistent the following tool is proposed. It works in a similar manner to the risk assessment tool in the ‘Purple Guide’ for managing safety at crowd events.”
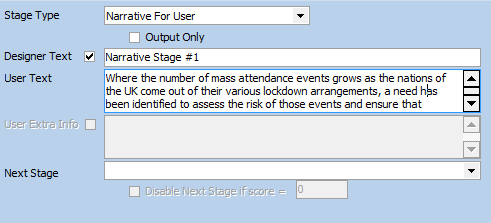
Note how the header stage shows the Narrative Stage #1 in the “Next Stage” field - this is to ensure that the layout when presented to the user is in the correct order.
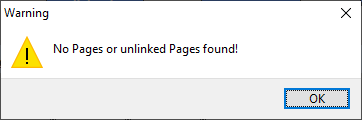
Press Save, clicking OK on the warning that reminds us that there are unfinished pages
Next click on the “The Tool” page - this is where we’re going to do most of the work.
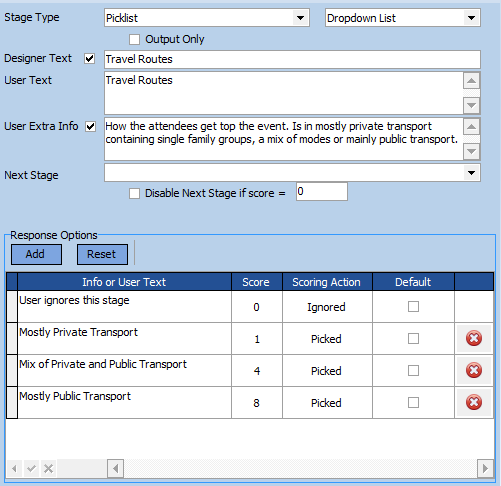
For the Tool Page we need to add a Header and six Picklist options, thus
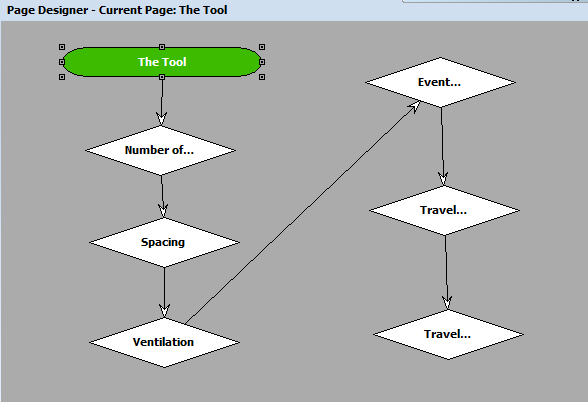
The header has been named The Tool and the picklist options
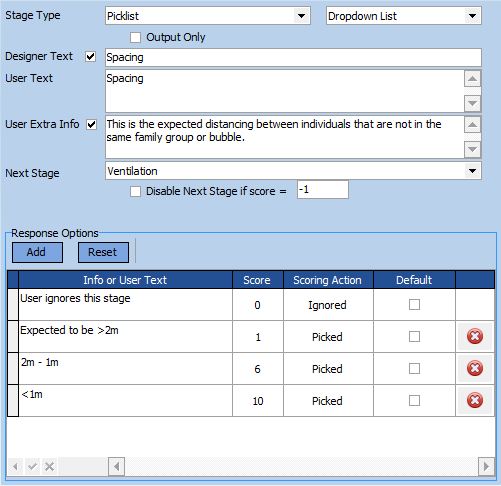
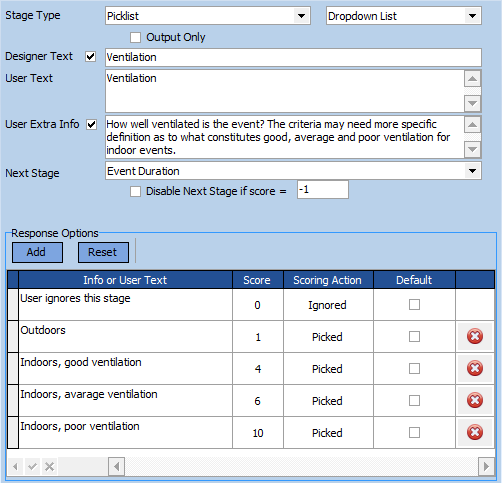
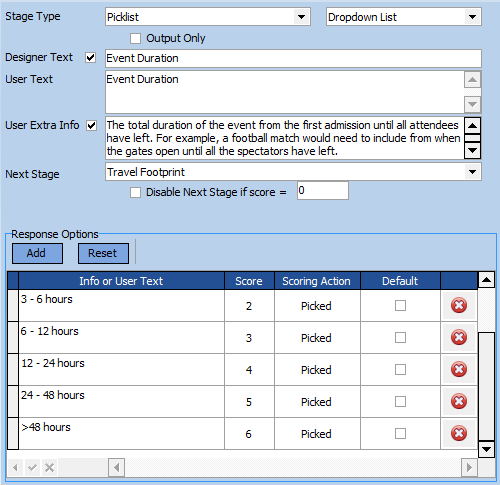
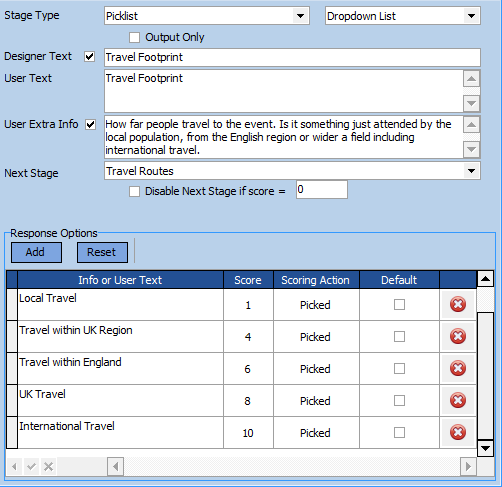
Number of People, Spacing, Ventilation, Event Duration, Travel Footprint & Travel Routes
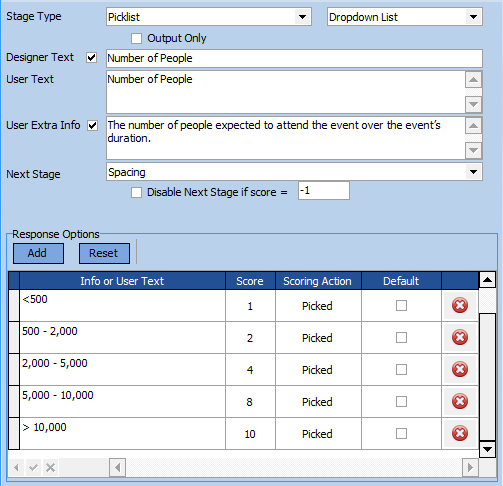
For each picklist option we’re going to enter some User Extra Info, to help the user use the Workflow and we’re going to enter the possible responses and what score each response should contribute to the overall Page score.
The six stages are shown below
Once all the stages are complete. Save the workflow.
Next click on the Result’s pages, one by one, and add a header to each page and output narrative to each page, with the following information
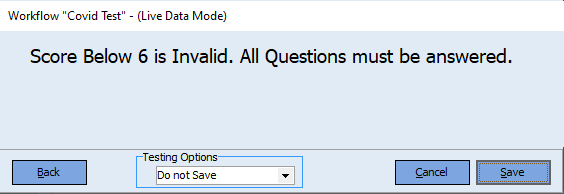
Results Score Below 6 - Not enough questions answered.
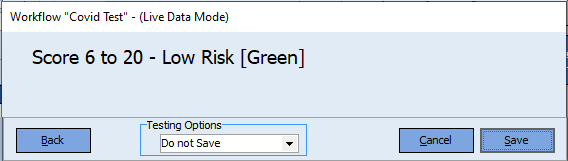
Results Score 6 - 20 - Low Risk “Green”- proceed
Results Score 21 - 33 - Medium Risk “Yellow”- proceed with caution
Results Score 34 - 44 - Medium High Risk “Orange” - review mitigations.
Results Score 45+ - High Risk “Red” - review mitigations
Finally we need to configure which page is displayed depending on the score.
Click on “The Tool” page
Check the Branch from response scores checkbox
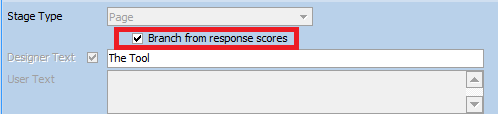
![]()
Press the Add button five times, to create five branch options.
And then complete the grid thus

This tells the workflow to calculate the score at the end of this page and then display the next page depending on the above. The rows are evaluated from top to bottom and the evaluation stops when the first True condition occurs.
Save and our workflow is complete.
To test that the workflow does what we want, click the Test button and Select “From Start…”
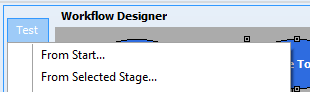
The workflow will now be loaded and presented to the designer as if they were a user running an instance of the workflow.
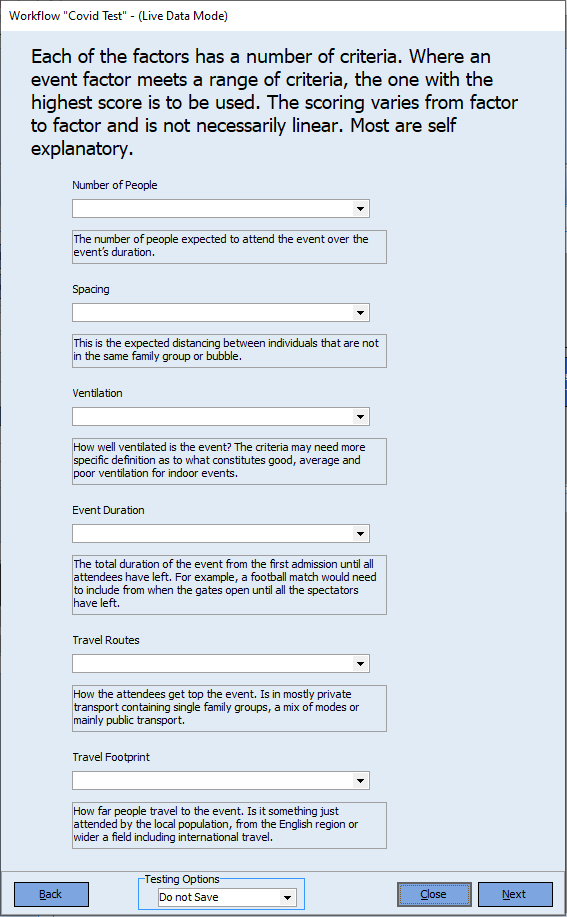
The first page will display the introduction. Press Next and the main “The Tool” page will be displayed.
If no responses are completed, then the user will score zero and clicking next will display the Score below 6 page.
Click back and complete all the responses
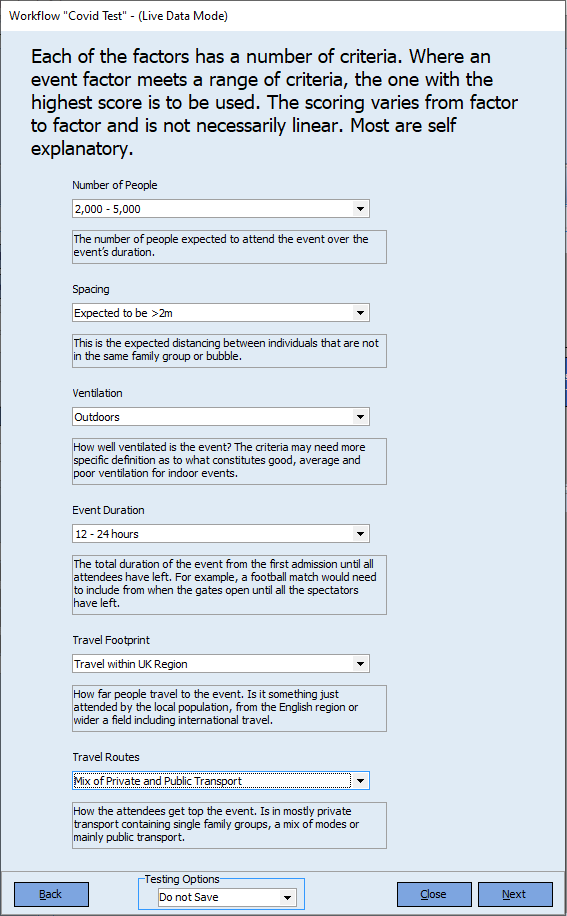
And the response a user would have received will be displayed
Once we’re happy that the Workflow does what we require, we can use the Publish button to make it available to our users.