|
The Shift Editor |
  
|
|
The Shift Editor |
|
This is similar to the position editor – but the changes made apply only to the shifts that have been selected on the planner.
So if you select all shifts on the 24th
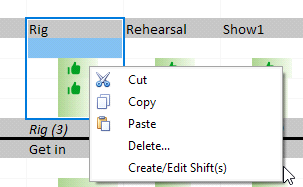
The shift editor will show the following.
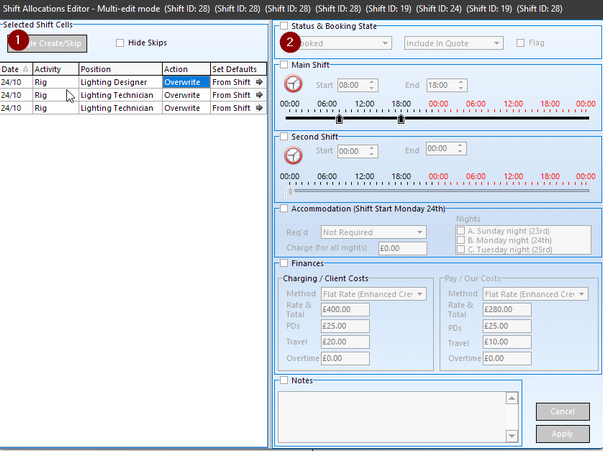
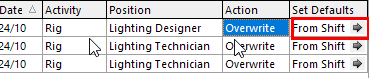
Area 1 displays the selected shifts – and if you want to omit one you can change the Action from ‘Overwrite’ to ‘Skip’. This is handy when you want to change a large block of shifts – but not one in the middle!
Another useful feature is to use the Set Defaults to copy the settings from one shift to the right-hand panel. For instance, you may have set the pay for the first shift – but not for the others – so pressing the arrow button.
Copies the details to the right-hand panel.
Area 2 shows the basic information for all those shifts.
Note at the top of the section you can set whether this shift is to be displayed on the quote or charged for and whether it is ‘flagged’ meaning you want to make qa note that it is incomplete or may need changing.
You can edit any of the individual sections by putting a check in the section header and then changing the details and when you hit apply it will update the selected shifts. So, if you had copied the pay from section 1) you could now select the ‘Finances’ checkbox and copy the date to the to the other shifts