|
Raising an Invoice |
  
|
|
Raising an Invoice |
|
Invoices are raised from the Sales Rep>Jobs>Finances>Actions and Summary page.
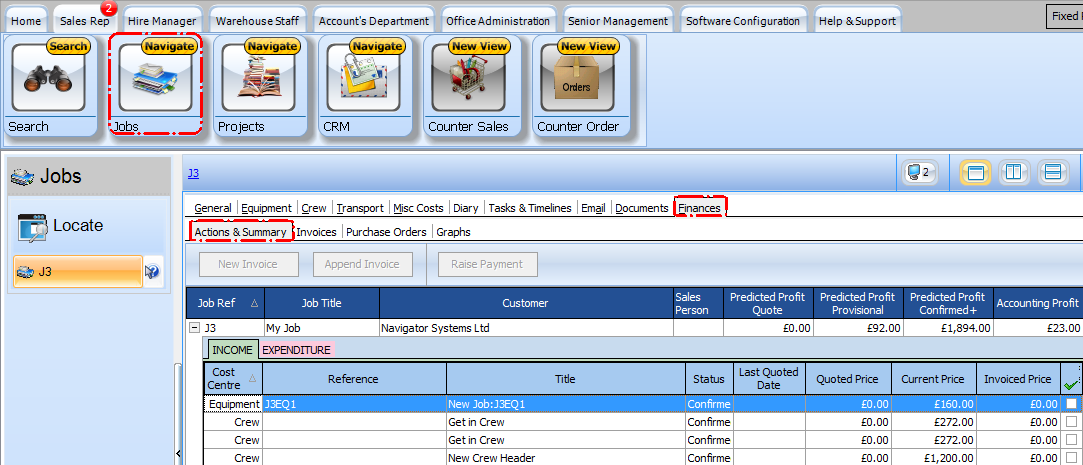
First place a check mark (tick) against the items on the income grid that you wish to Invoice
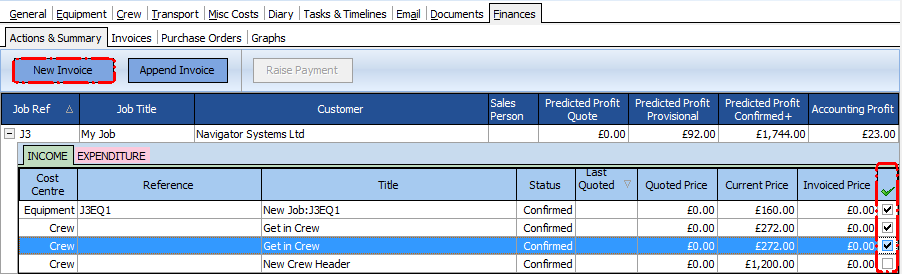
Then press the New Invoice button (or Append Invoice if you wish to add it to an existing Invoice that has not yet been posted to the Accounts package)
This will bring up the Invoice Wizard
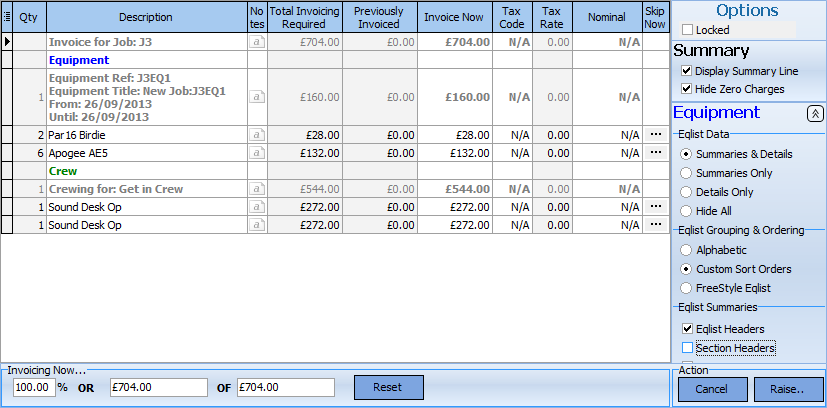
You can change what will appear on the Invoice by using the options controls.
On the image above you can see we have included the Summary Line Invoice for Job: J3 ('Display Summary Line' is checked) and hidden any items with zero prices ('Hide Zero Line Charges' is checked)
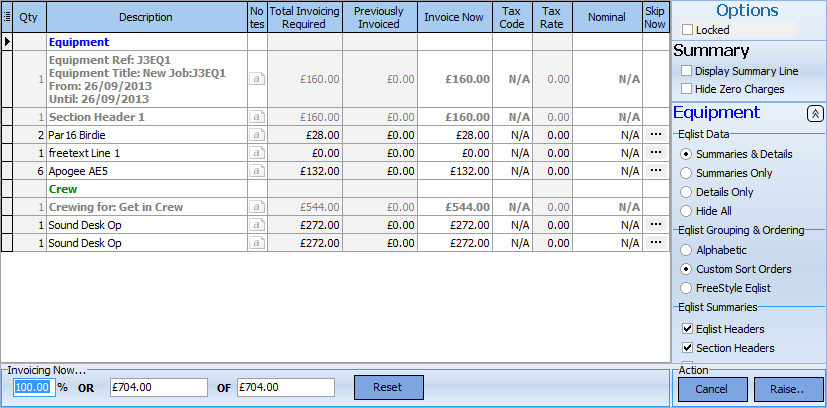
On this image we have cleared those options so the PAR16 birdie is now visible but under 'Eqlist Summaries' 'Section Headers' has been selected so we can now see them - but in this example the Section Header is 'Section Header 1' so It was probably best to not include it!
You can over type the entries in the grid so we could change the Section Header 1 to 'Lighting Equipment' before raising the Invoice or change any of the summaries if required.
It is also possible to change the amount you are invoicing now so you can set the 'Invoicing Now' value to 20% for instance as a deposit and invoice the rest later.
Finally, once you are happy with the Settings press the' Raise..' button to create the actual Invoice.