|
Using Cases on Prep Notes |
  
|
|
Using Cases on Prep Notes |
|
Equipment can be placed in "cases" on Prep Notes.
Manual casing of equipment
Take a standard prep note
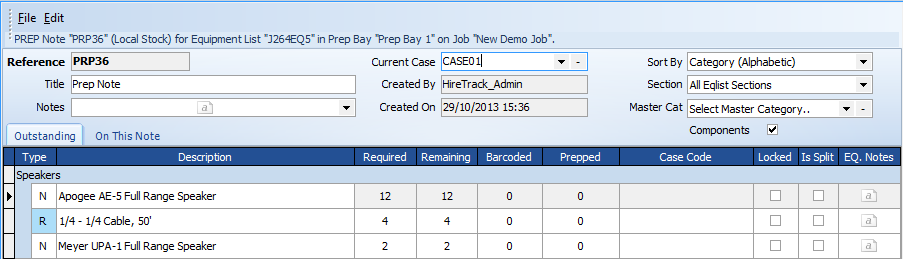
and in the current case enter a case number in this example CASE01 was typed.
the system will prompt would you like to ad a new case ID

now scanning or setting the prepped quantity will allocate these items to the current case

Now in this example we have only room for two speakers in CASE01 so we will need to split the line into two lines so we can place the other speakers into a different case
move the mouse over the description and a scissor icon will appear,

pressing this will split the line into two lines
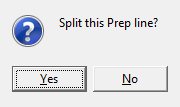
now entering a new case as before- in this example CASE02 , as we continue prepping the items will be added to the new case

As well as manually entering case codes, if a list contains a type that is defined as a roadcase in the inventory>types when that item is prepped either by selecting it or barcode, all the following items will be added to that case until a new case is selected as the current case.
You can move equipment between cases by simply clicking on the case column and select from any cases that are on the list or have been manually entered.

Splitting Lines and Cases
When a case is full but not all the items on a line have been put in the case then you will need to "Split" the line so that what you have done so far is signed off (Locked) and new lines with the remaining Qty to be processed are create. You can then assign a new Case number to these new lines as you process them. To split a line, click in the Description cell and the click the "scissors" icon.
![]()
This will split a single line, but you may have many lines that are associated with a single Case ID and when that case is full you may want to split (where possible) ALL the lines that are linked to this Case ID. This can be done from the Current Case dropdown control at the top of a Prep Note. Simple select the Case ID in question, then click the "Multi-Split" icon on the far right of the control.
![]()
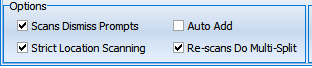
Finally, if you want to invoke the "Multi-Split" function without returning to the screen, if you scan a barcode/case-code that represents the Case ID in question for a second time, then if you have the "Re-scans Do Multi-Split" option set in a Prep Note then this whole process will be automated.